Drying vs. Curing: What Happens Inside Fresh Clear Coat?
 Many vehicle owners assume that once paint is dry to the touch, it is fully hardened. In reality, automotive refinishing happens in two distinct stages: drying (solvent evaporation) and curing (chemical cross-linking).
Even when a custom shop bakes a vehicle in a heated down-draft booth, only the initial flash-off of solvents is accelerated. Over the next several weeks, residual solvents slowly migrate upward through microscopic pores in the clear coat and evaporate into the atmosphere—a process known as outgassing. Simultaneously, the urethane polymers inside the clear coat continue cross-linking to achieve maximum hardness, chemical resistance, and optical clarity.
According to technical guidelines from PPG Refinish, premature sealing or exposure to harsh chemicals while solvents are still escaping can interrupt cross-linking, leading to cloudiness, softening, or micro-blistering.
Why You Must Avoid Waxes, Sealants, and Coatings Early On
During the custom paint cure period, your clear coat needs to “breathe” freely so trapped solvents can escape without resistance. Applying traditional carnauba waxes, synthetic paint sealants, nano-ceramic coatings, or Paint Protection Film (PPF) during the first 30 to 90 days acts like placing plastic wrap over a wet sponge.
- Solvent Pop and Hazing: When escaping solvents hit a barrier of wax or ceramic coating, they become trapped beneath the surface, creating microscopic pinholes (solvent pop) or a milky, hazy appearance in the clear coat.
- Softened Clear Coat: Trapped solvents prevent the urethane resin from reaching full hardness, leaving your paint vulnerable to fingernail scratches, rock chips, and etching from bird droppings.
- Adhesion Failure: Applying ceramic coatings or vinyl films over an actively outgassing panel often causes the protective layer to bubble, peel, or fail prematurely because the surface underneath is still shifting at a molecular level.
Always ask your painter for the exact cure timeline of the specific clear coat system sprayed on your vehicle. High-solids urethane clears typically require at least 30 to 60 days before waxing, and up to 90 days before installing PPF or professional ceramic coatings.
Step-by-Step: How to Safely Wash Freshly Painted Panels
Keeping fresh paint clean during the cure window is still crucial—especially because un-cured clear coat is softer and more susceptible to acid etching from bug splatter, tree sap, and bird droppings. Follow these strict washing rules until your clear coat is fully cured:
1. Stick Exclusively to Hand Washing
Never take a freshly painted vehicle through an automatic tunnel car wash. Spinning nylon brushes will instantly inflict deep swirl marks into soft clear coat, while touchless washes rely on high-pH alkaline detergents and harsh acids that can chemically burn uncured paint. Wash strictly by hand in a shaded area where the panels are cool to the touch.
2. Use a Pure, pH-Neutral Shampoo
Avoid “wash-and-wax” soaps, gloss enhancers, or polymer-infused shampoos, as these leave behind silicone or wax residues that block outgassing. Instead, choose a pure, pH-neutral car shampoo free of glossing agents, following industry best practices recommended by the International Detailing Association (IDA) for delicate and freshly refinished surfaces.
3. Master the Two-Bucket Method With Fresh Microfiber
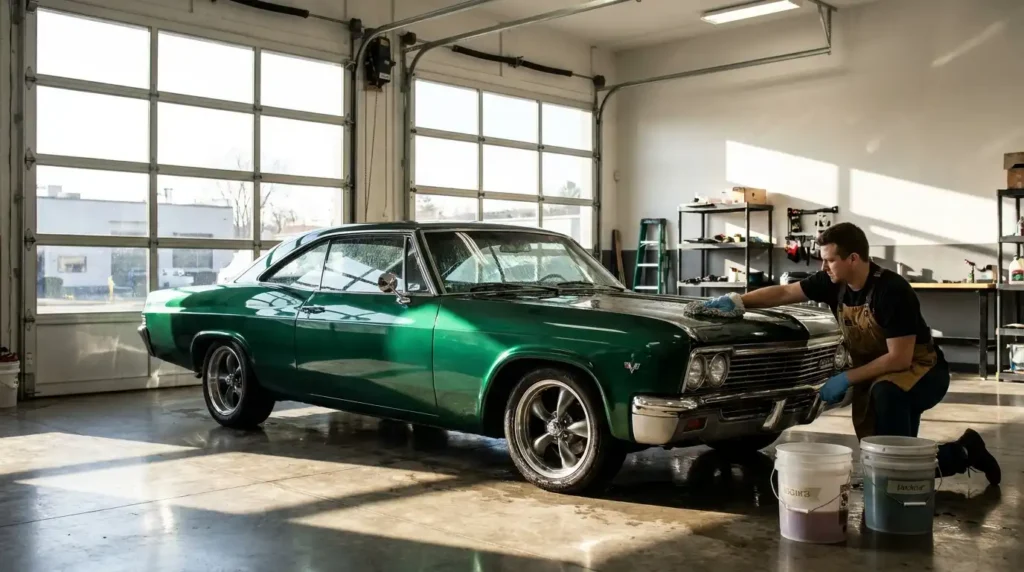
Fill one bucket with your pH-neutral soap solution and a second bucket with clean rinse water fitted with a grit guard at the bottom. Use a plush, edgeless microfiber wash mitt—never a natural sea sponge or terry cloth towel—and glide it across the paint using straight, overlapping passes with zero downward pressure. Rinse the mitt thoroughly in the clean water bucket after every single panel.
4. Keep Pressure Washers at a Safe Distance
While rinsing with clean water is safe, high-pressure nozzles held too close to fresh edges, panel gaps, or pinstriping can lift uncured clear coat. Use a wide-angle 40-degree fan tip and stand at least three to four feet away from the vehicle, letting water sheet gently off the surface.
5. Dry With Filtered Air or Ultra-Soft Microfiber
Dragging a stiff chamois or standard towel across soft clear coat is one of the fastest ways to create micro-marring. The safest drying method during the cure period is a dedicated automotive filtered air blower to push water off the panels completely touch-free. If you must use a towel, choose a high-GSM twisted-loop microfiber drying towel and gently blot the water rather than wiping.
Common Mistakes That Ruin Fresh Custom Paint
Even careful owners can accidentally compromise a new paint job by overlooking everyday environmental hazards during the first two months:
- Using Quick Detailer Sprays: Most off-the-shelf quick detailers contain silicones, polymers, or carnauba boosters. If you need to remove dust or light smudges, use only a body-shop-safe, silicone-free inspection spray or plain distilled water.
- Leaving Bird Droppings or Bug Guts Overnight: Because uncured clear coat is porous, acidic contaminants penetrate much faster than on cured paint. Gently soak any bird droppings with a wet microfiber cloth soaked in warm water for five minutes to soften the residue before lifting it away without scrubbing.
- Parking Under Trees or Direct Midday Sun: Tree sap and pollen can bond directly into softening clear coat under intense UV heat. Whenever possible, garage the vehicle or park in open shade away from overhanging branches.
- Machine Polishing Too Soon: If you notice minor dust nibs or light texture, let your custom painter handle wet-sanding and buffing. As noted in refinishing resources from 3M Collision Repair, fresh paint requires specialized fine-grade compounds and controlled pad temperatures to avoid burning or distorting soft clear coat.
When Can You Finally Apply Ceramic Coating or PPF?
Once your 30-to-90-day custom paint cure period is complete and all solvents have fully outgassed, your clear coat reaches its final structural hardness. At this stage, your vehicle is officially ready for long-term surface protection.
Before locking in the finish, have a professional detailer perform a light final polish to remove any minor wash marring accumulated during the cure window. From there, you can safely install self-healing Paint Protection Film on high-impact zones like the front bumper and hood, followed by a multi-year nano-ceramic coating across the entire body—preserving that deep, show-quality shine for years to come.