A custom paint job can completely transform the look of your vehicle, whether it’s a car, motorcycle, truck, or even a boat. It’s an opportunity to add your unique style, enhance your vehicle’s aesthetic appeal, and make it truly one-of-a-kind. However, custom painting is more than just picking a color and slapping it on your vehicle—it’s a detailed and precise process that requires skill, patience, and attention to detail.
In this blog, we’ll break down the process of custom paint application so you know exactly what to expect when you take your vehicle in for a makeover.
1. Preparation is Key: Cleaning and Disassembly
The first step in any custom paint job is preparing the vehicle. This process is essential to ensure that the paint adheres properly and that the final result looks flawless. Here’s what happens during this crucial first stage:
-
Cleaning: The vehicle is thoroughly cleaned to remove any dirt, dust, grease, or grime. Even small particles can interfere with the painting process, leading to imperfections in the finish.
-
Disassembly: Parts of the vehicle that don’t need to be painted—such as trim pieces, mirrors, or lights—are removed. This ensures that the paint won’t spill onto areas that shouldn’t be painted and helps achieve a clean, professional finish.
If you’re opting for a custom design with multiple colors or intricate patterns, the preparation might also involve taping and masking areas where paint isn’t desired.
2. Sanding: Creating a Smooth Surface
Once the vehicle is clean and prepped, the next step is sanding. This stage involves sanding down the original paint to create a smooth, even surface for the new paint to adhere to. There are several reasons why sanding is necessary:
-
Removing old paint: If the vehicle is being repainted, the original paint needs to be removed or scuffed so that the new paint can bond properly.
-
Smooth out imperfections: Sanding helps remove any imperfections or rough spots on the surface, such as dents, scratches, or chips.
-
Creating texture for paint adhesion: The sanded surface allows the new paint to adhere better, which improves the longevity and durability of the finish.
The sanding process can take a bit of time, but it’s essential for ensuring that the paint job is flawless.
3. Priming: A Protective Layer
After sanding, a layer of primer is applied to the surface. Primer serves several purposes:
-
Protects the vehicle’s surface: It acts as a barrier between the metal or body of the vehicle and the paint, preventing rust and corrosion.
-
Improves paint adhesion: The primer helps the paint adhere better and last longer.
-
Ensures a smooth finish: It fills in small imperfections, creating a smoother surface for the topcoat.
Depending on the type of paint you choose, you might need a specific type of primer. For example, metallic or pearlescent paints may require a different primer than standard solid colors.
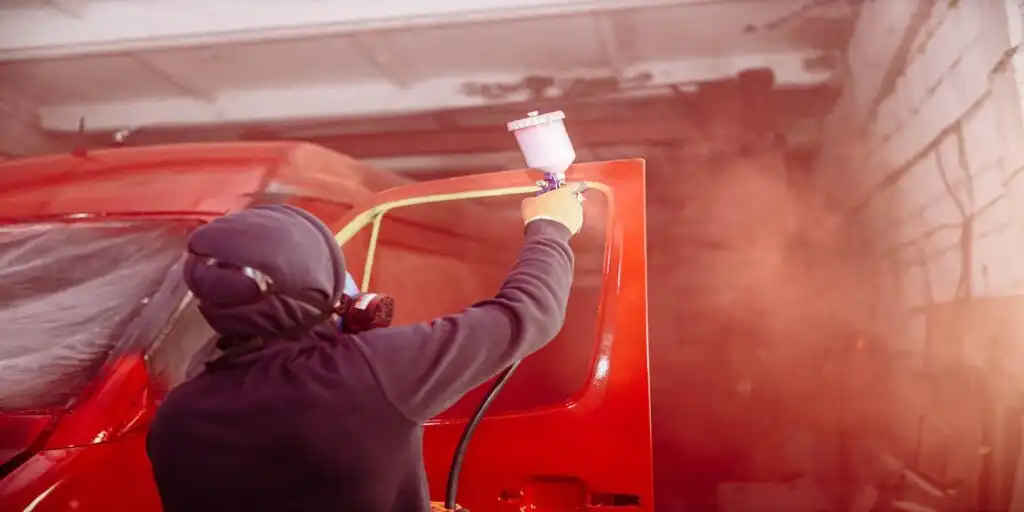
4. Applying the Base Coat
Once the primer has dried, the base coat of paint is applied. The base coat is the primary color of your custom paint job and serves as the foundation for the rest of the design.
-
Spray application: The base coat is usually sprayed onto the vehicle in even layers to ensure a smooth, consistent coverage. Depending on the color, more than one layer may be applied to achieve the desired depth and opacity.
-
Drying time: Each layer of base coat must be given adequate time to dry before the next layer is applied. This is important to avoid uneven finishes and bubbling.
The base coat is often the most time-consuming part of the custom paint process, as achieving a smooth, even layer of paint is key to a beautiful finish.
5. Adding Special Effects: Layering for Unique Looks
For many custom paint jobs, the base coat is just the beginning. If you want a more unique or eye-catching design, special effects like metallics, pearlescent finishes, or custom graphics can be added. Here’s what that entails:
-
Metallic or Pearl Finishes: If you want a shiny, reflective look, metallic or pearlescent paints are applied over the base coat. These finishes add depth and give your vehicle a unique look that changes depending on the light.
-
Custom Graphics: Airbrush art or stenciled designs are often added at this stage. These can range from simple stripes to intricate artwork that covers the entire vehicle. Special stencils or freehand airbrush techniques are used to create these designs.
-
Candy Coats: Candy paint is a translucent, tinted layer that gives a glowing, deep color effect. This is often used for motorcycles or vehicles where a high-end, custom look is desired.
Layering custom effects can significantly enhance the look of your vehicle and give it a more personalized touch.
6. Clear Coat: Protecting the Finish
After the base coat and any special effects are applied, a clear coat is added. The clear coat is an essential layer that provides protection and helps the paint maintain its glossy, smooth finish.
-
Protection from elements: The clear coat shields the paint from environmental damage, including UV rays, road salts, and dirt.
-
Enhances the finish: It gives the paint job a high-gloss shine and can also help create a smoother, more even surface.
-
Durability: The clear coat increases the durability of the paint job, helping it resist scratches, chips, and fading over time.
The clear coat is usually applied in multiple layers to ensure that it provides adequate protection and a high-quality finish.
7. Curing and Polishing
Once the paint and clear coat have been applied, the vehicle needs time to cure. Curing is the process of allowing the paint to dry and harden completely, which can take anywhere from a few hours to a few days, depending on the type of paint used.
Once the curing process is complete, the vehicle is polished to bring out the full depth and shine of the paint job. Polishing helps remove any imperfections in the clear coat and ensures that the paint job has a flawless, smooth surface.
8. Reassembly and Final Touches
After the paint job has cured and been polished, the vehicle is reassembled. Any parts that were removed at the beginning of the process—such as trim, mirrors, or lights—are reattached.
At this point, the custom paint job is thoroughly inspected to ensure that everything looks perfect. Any touch-ups are made, and the vehicle is cleaned one final time.
Conclusion: The Art of Custom Paint
The process of custom paint application is intricate and involves several steps to ensure a high-quality, long-lasting finish. From preparation and sanding to layering special effects and applying a protective clear coat, each stage is vital to creating a stunning final product.
If you’re considering a custom paint job for your vehicle, understanding the process can help you appreciate the craftsmanship and attention to detail involved. Whether you’re looking for a simple color change or an intricate design, a custom paint job can truly transform your vehicle, making it unique and personalized.